
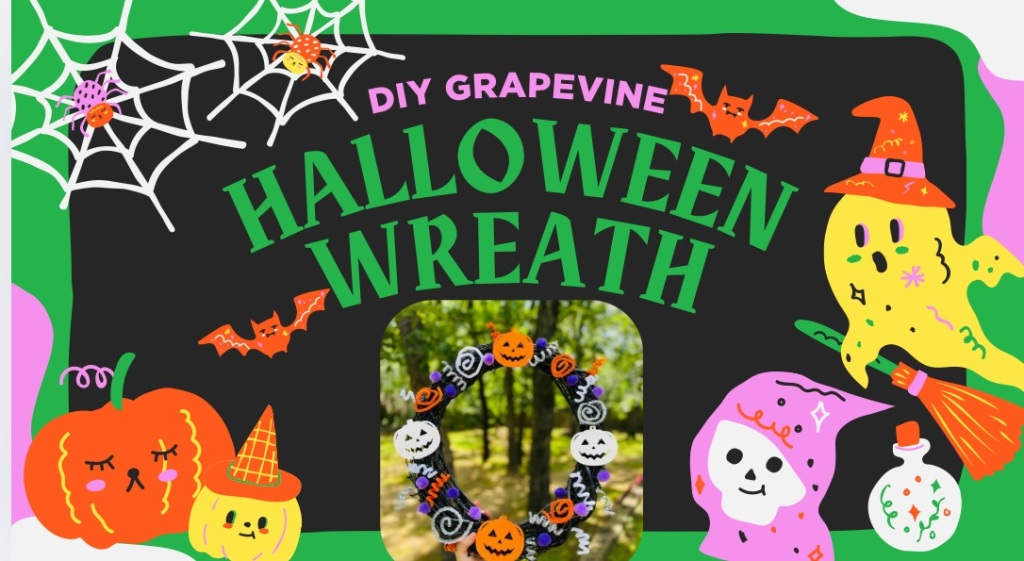
Hey! I’m baaaack! And in a new house for 2025! Since we moved this spring, I decided it was an ideal time to refresh the Halloween look for my giant front porch. This called for a new wreath. My old wreath was crafted six years ago and prior to children, so I had a lot of time to go slow on it – but this time I wanted an inexpensive, cute and easy wreath that didn’t require a lot of new materials with a whimsical, fun theme. Keep on reading to get inspired and see the final product and all the fun ways you can customize a grapevine wreath for your porch this season.
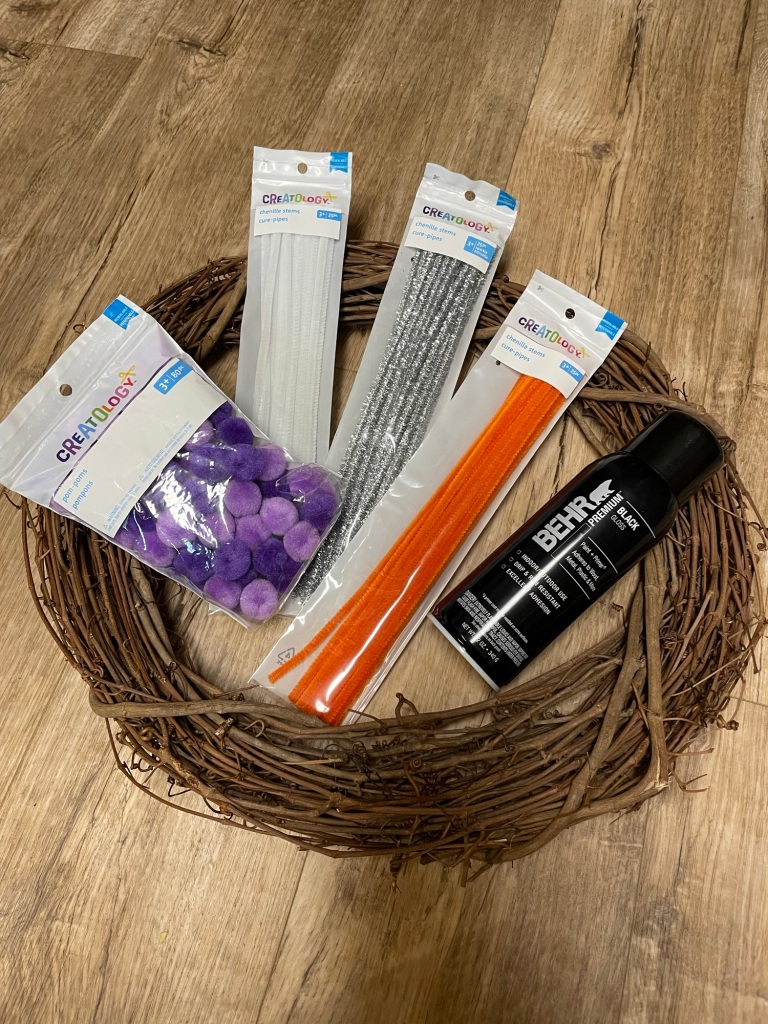
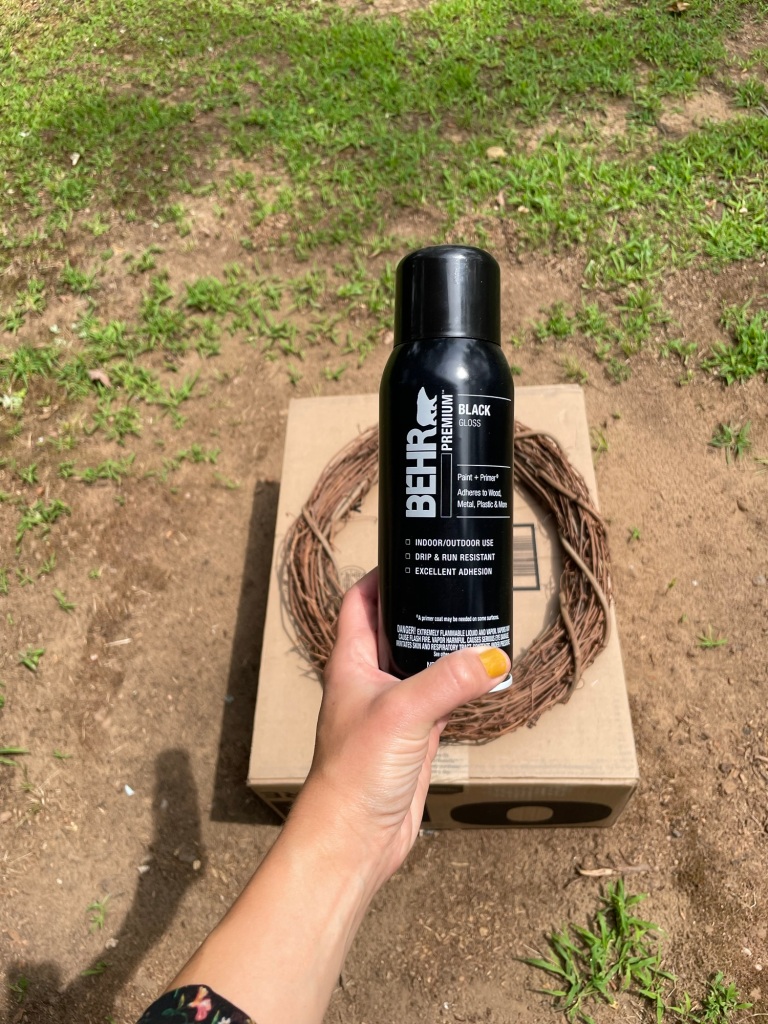
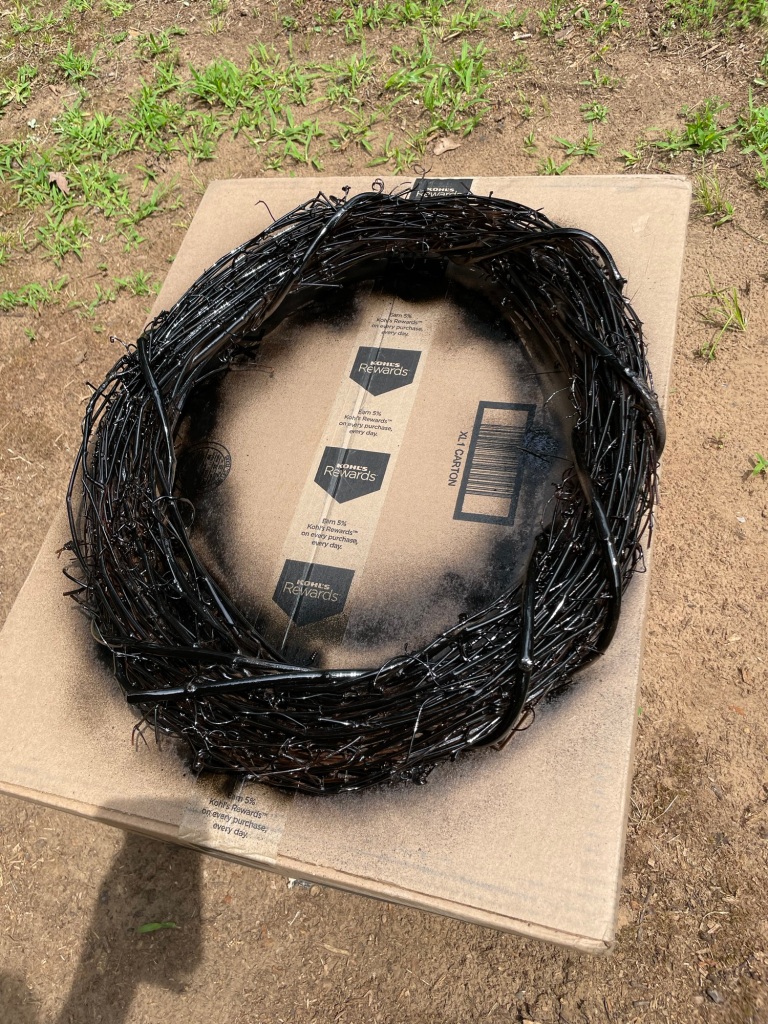
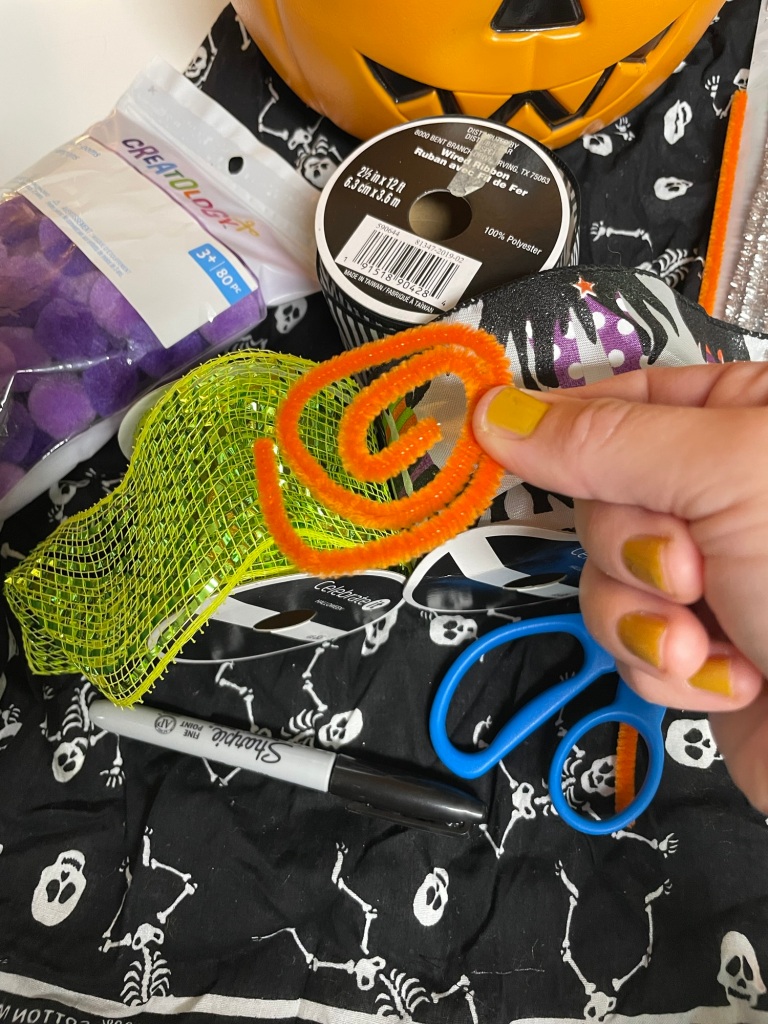
For this craft, I purchased a new grapevine wreath from Michael’s, some chenille stems and pom-poms. the first step was to use glossy black spray paint on the front and back of the wreath. You could get crazy and spray the base orange, ghoulish green, even purple!!! It all depends on the style you’d like to achieve.
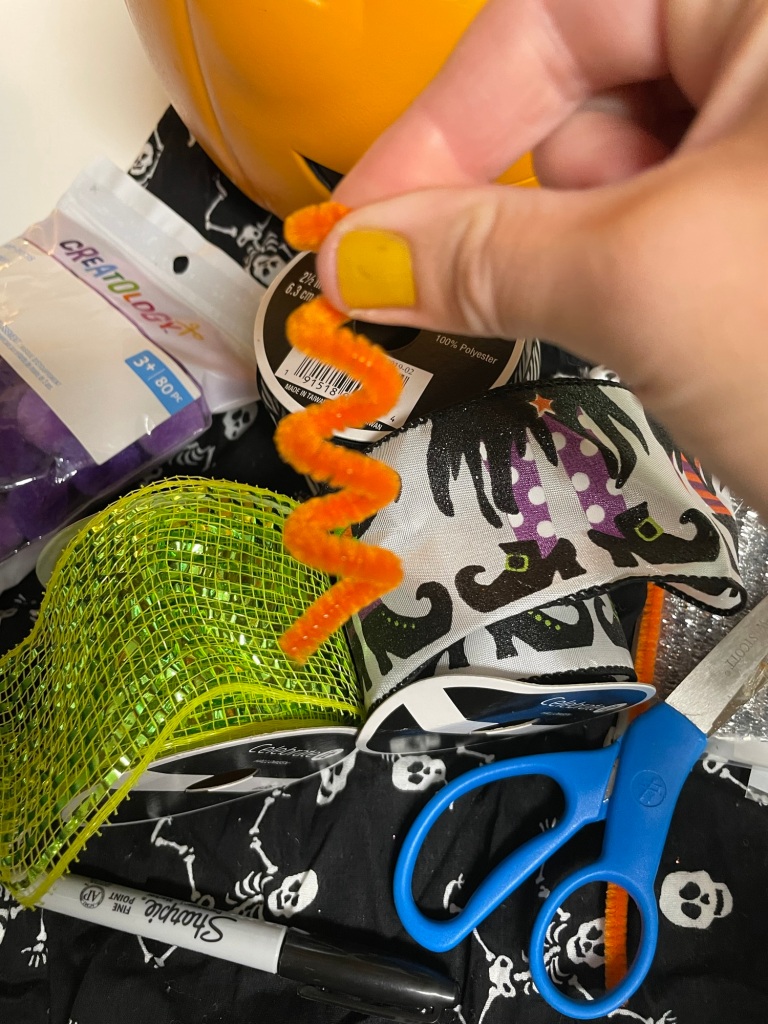
After it dried, I went back-and-forth on how I wanted to lay out my whimsical curls and swirls I made out of chenille stems – and I also debated on creating a large bow with leftover ribbon I had from previous crafts – but ultimately, I decided to go bow-less on this wreath. 
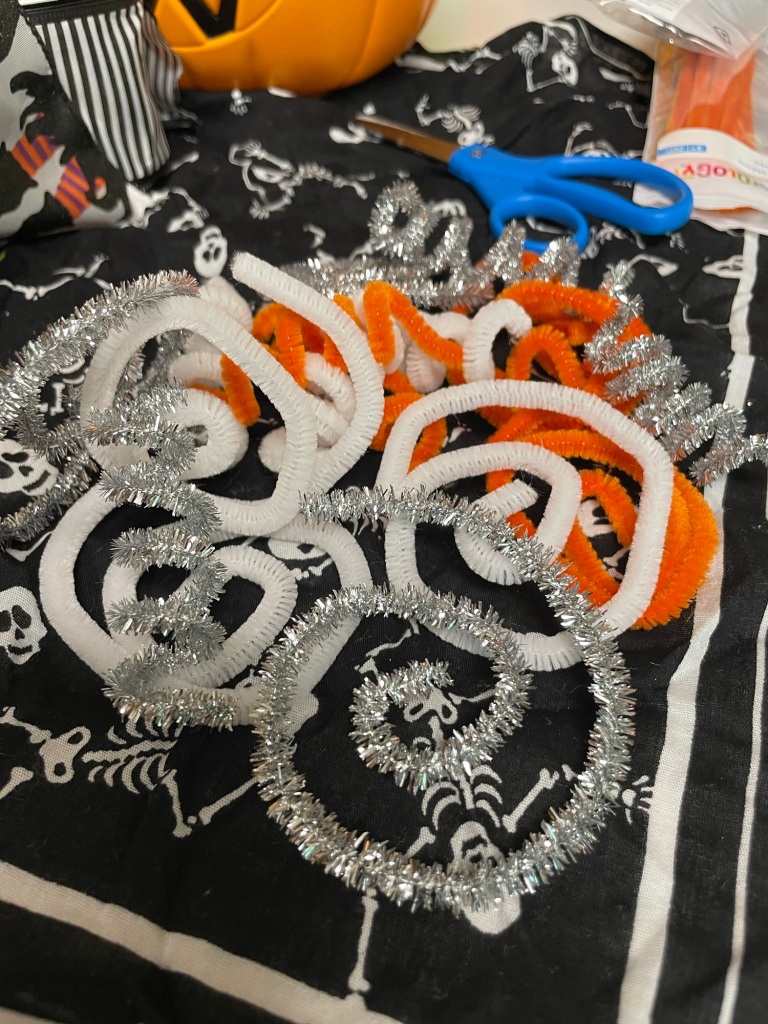
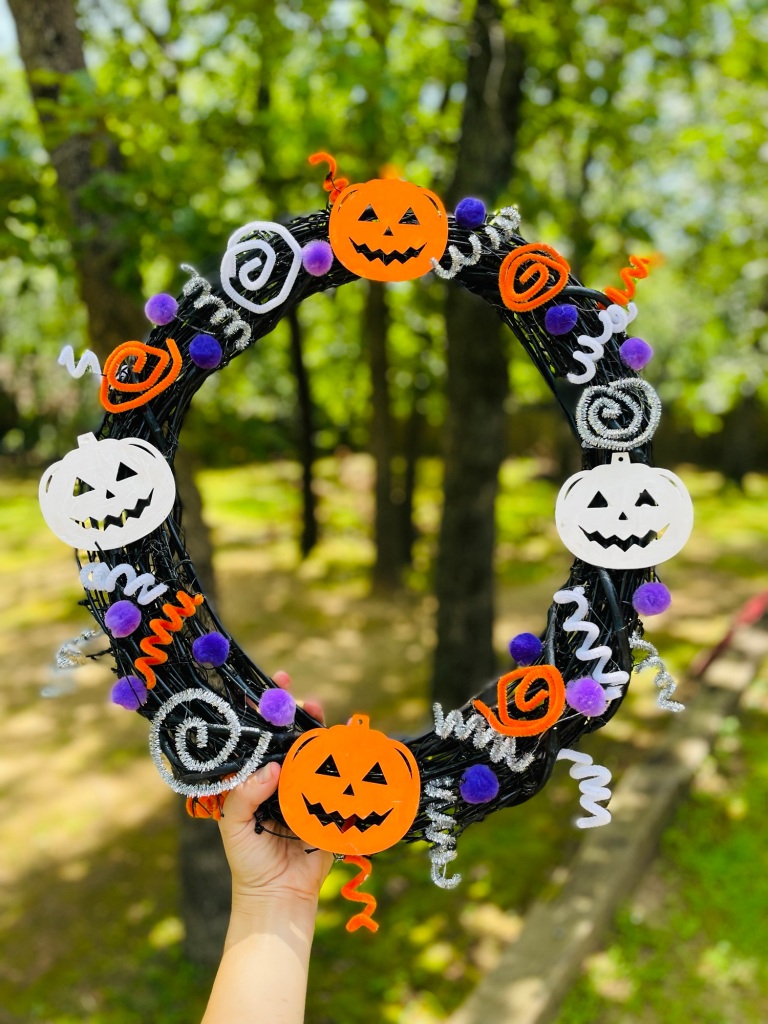
Once I have compiled my assortment of spirals I played around a few different iterations of what the wreath could look like! See the images below to get an idea how you can spice up the decorations and arrangements on the wreath:
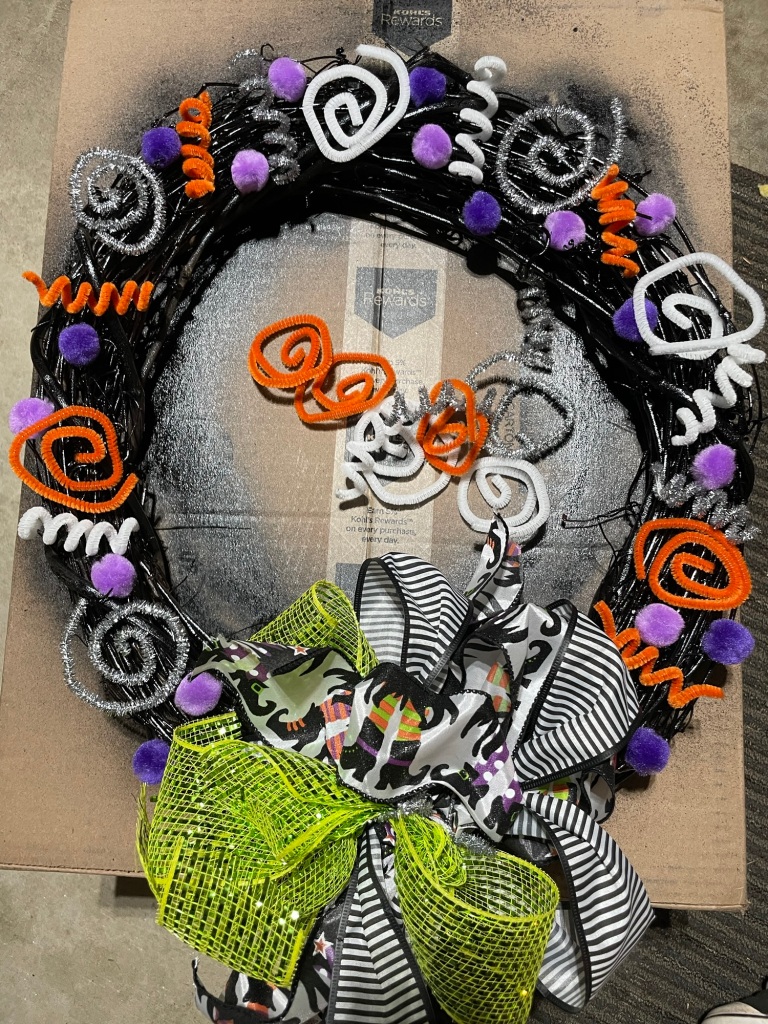
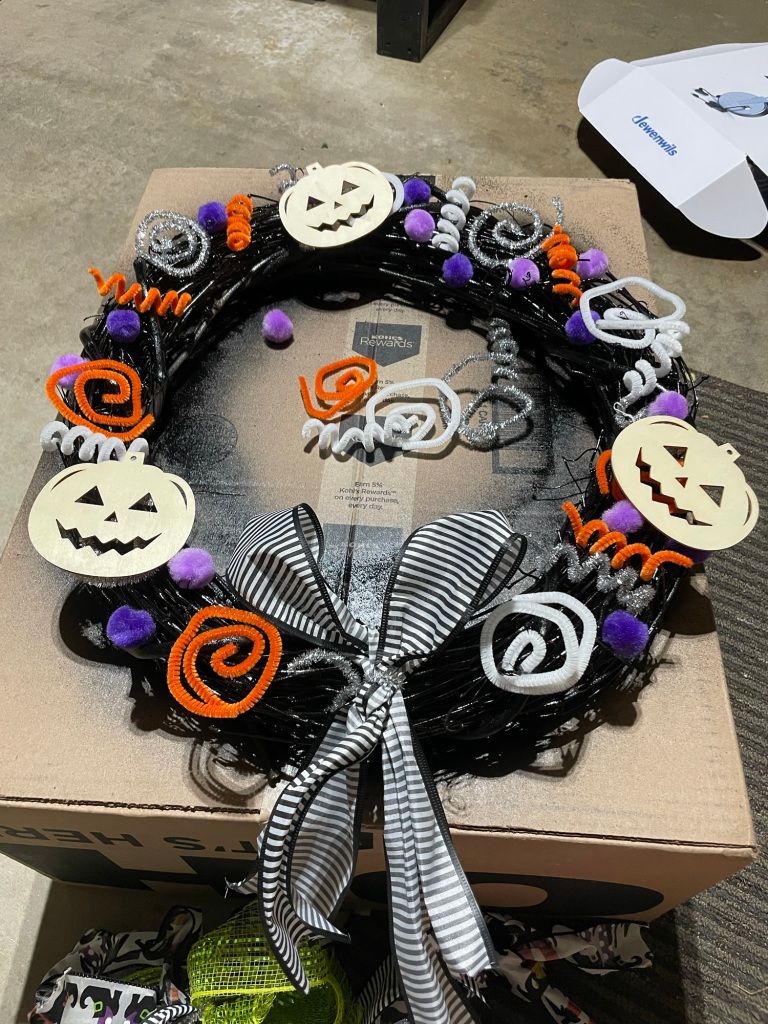
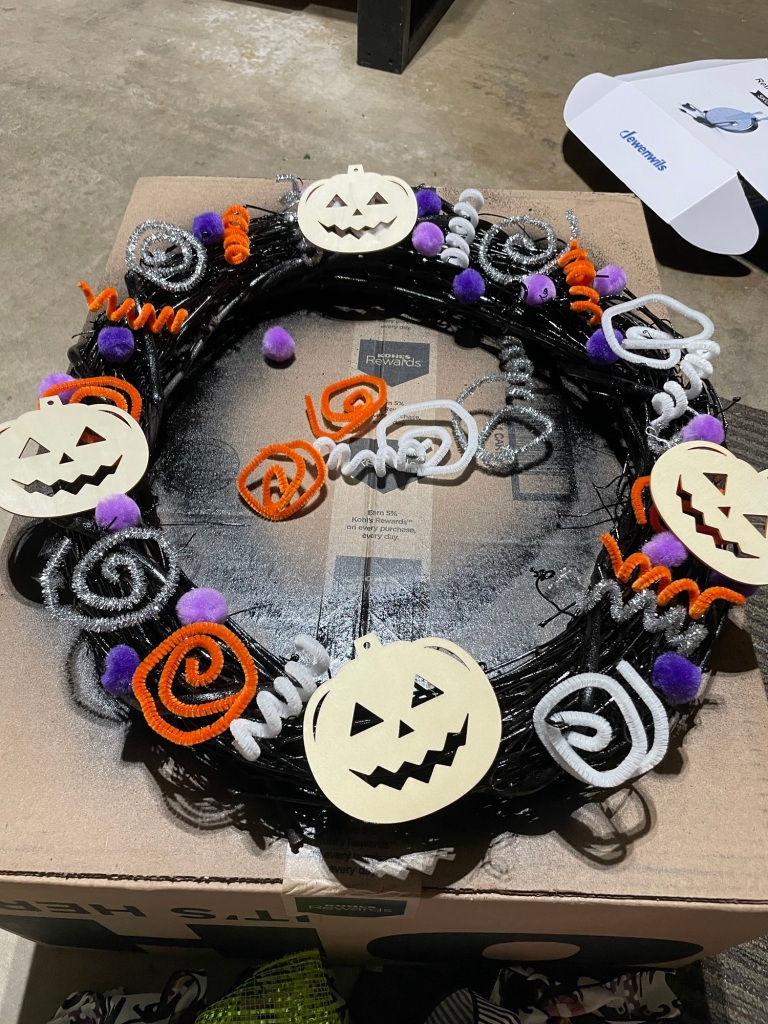
I found some old wooden jack-o-lantern cutouts in my craft supplies and thought they were just what this wreath needed to evoke the entirety of the Halloween spirit!
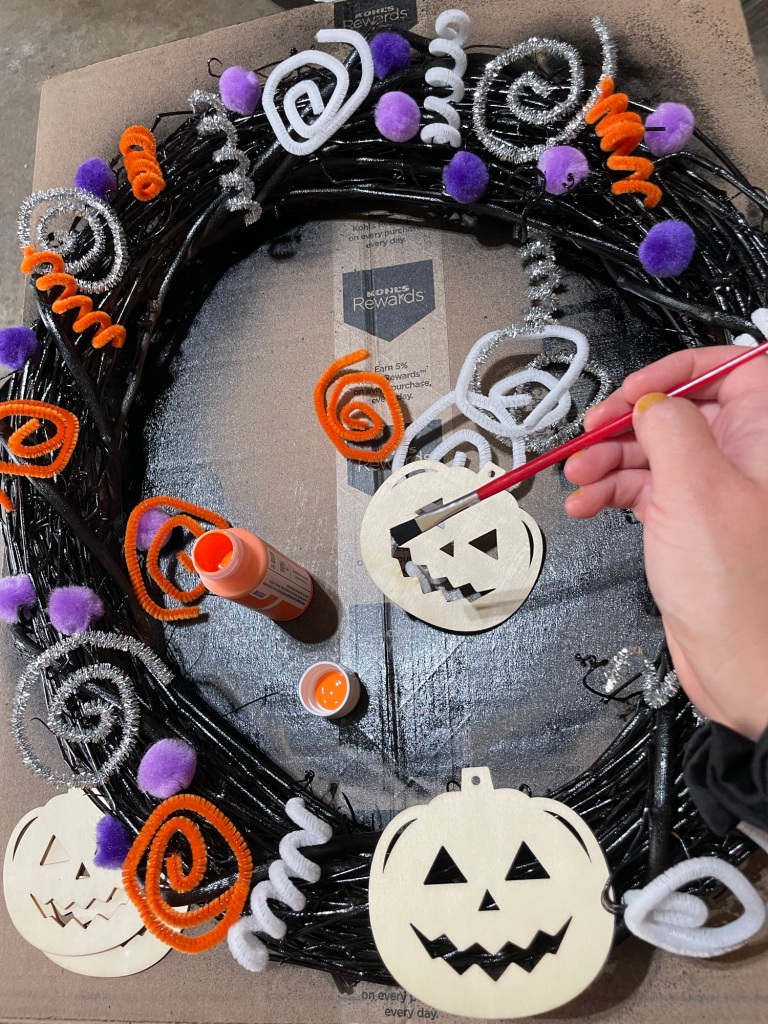
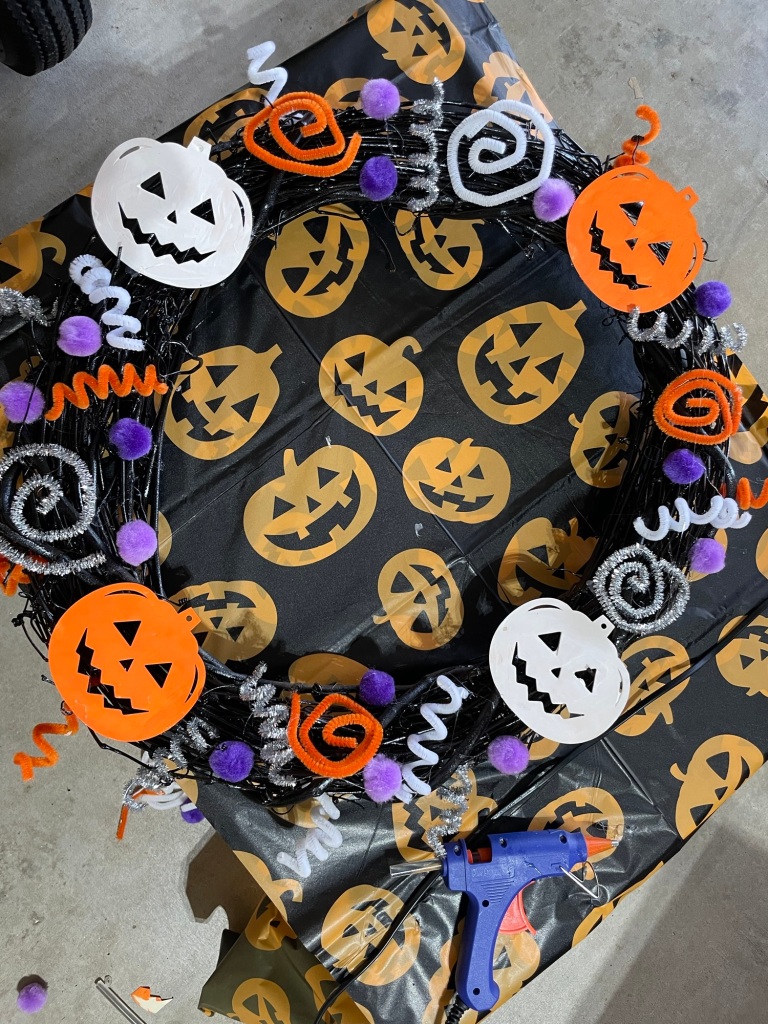
I used hot glue to adhere all the spirals, poms and wooden cutouts. I even added a few spirals popping out of the edges behind the wreath by twisting them into the vines. I may add some more because I love that Halloween-firework effect it was giving.
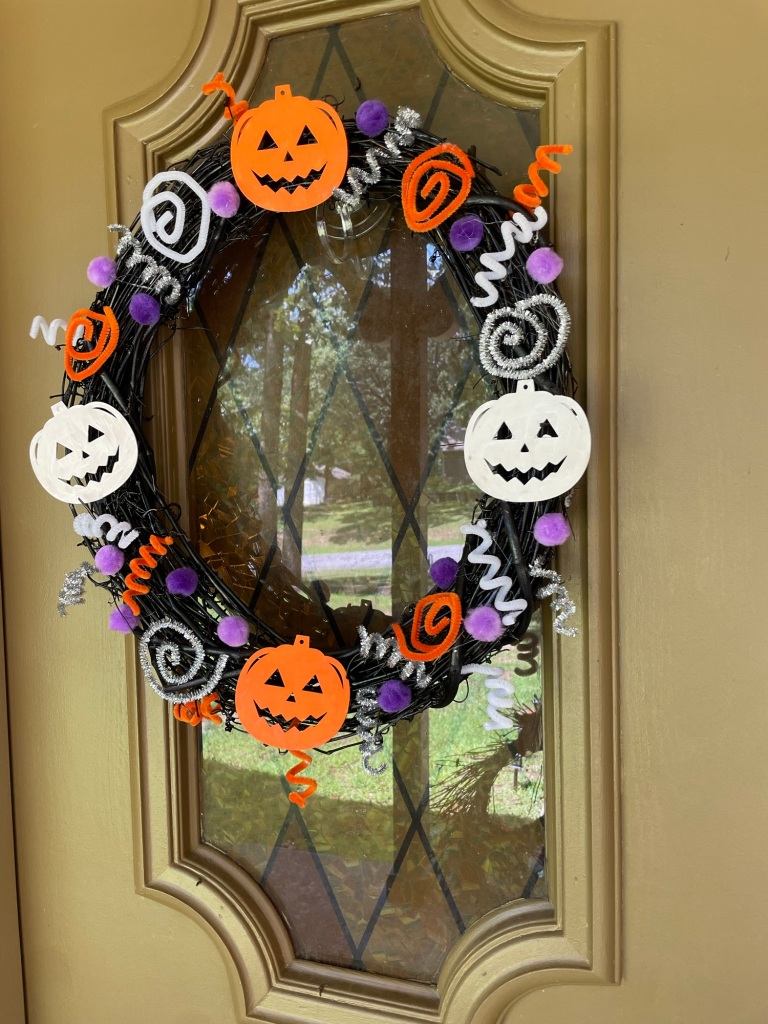
Simple, easy, inexpensive and customizable! my favorite kind of Halloween DIY!
I hope you have fun making your own wreath this year.
Stay spooky,
Callie Jo
